Sending internal newsletters based on subscription preferences
In this tutorial, you will learn how to configure JungleMail for Office 365 to send personalized newsletters based on subscriber's preferences. The following method is applicable only when your recipients can access your SharePoint online page with the subscription form. Subscribers and their preferences are added to a SharePoint list and updated through a form hosted on a SharePoint page.
SharePoint configuration
Installing the JungleMail 365 Modern Pack
To configure this step, you will need Tenant Administrator permissions to access the SharePoint App catalog.
1. Download JungleMail 365 Modern Pack, then extract the app file.
Note
If you are planning to grant Guest Users access to the subscription form, we recommend deploying the JungleMail 365 Modern Pack to a Site Collection App catalog. To deploy the Site Collection App catalog, please refer to this article. Proceed to Step 3 of the installation.
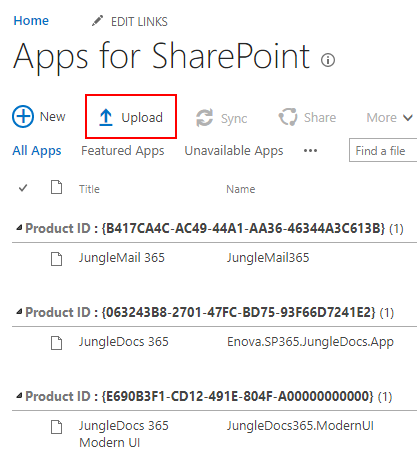
2. Navigate to your App Catalog site collection and select Apps for SharePoint.

3. Extract Click Upload and browse to the app file to add it to the catalog. Dragging and dropping works, too.
4. Upload the extracted app. In the pop-up window, select the Make this solution available to all sites in the organization box, then select Deploy. By doing so, the web part will be available in every site automatically. If the box is left unchecked, Modern Pack needs to be added in every site individually via Settings > Add an app.

Configuring the JungleMail Subscription Web Part
1. Add the JungleMail Subscription Web Part to a modern SharePoint page.

2. Configure the Web Part.

3. Create a new list to store subscriber data using the Web Part. The list will be automatically configured with strict permissions.

4. The Subscription form fields and ordering will be taken from the configured View in SharePoint.
Supported fields: Text, Note (Plain text), Boolean, Number, Choice (Radio, Dropdown), Multichoice (Checkboxlist), Boolean, Lookup (radio for single/checkboxlist for multiple).
Note
Default values for the columns will be checked when opening the form. Default values for the lookup columns are not supported.
If the Subscription Preferences column is selected, all boxes will be checked.

5.The form and form messages are fully customizable, text and images can be replaced to accommodate branding.

JungleMail configuration
1. In JungleMail, navigate to Settings > Subscriber Management.
2. Choose SharePoint Subscribers, click the Add new list button, enter the Site URL and select Authorize.
Note: Only site collection administrators can authorize Subscribers lists. Authorization is required to obtain manage access to the list.
3. Select the list in the authorization dialog. Fill out the form selecting the Email and Subscription preferences columns. Optionally, you can add the Subscription management page URL where the JungleMail Subscription Web Part is added.


Note: Supported fields for the Subscription preferences column: Lookup.
4. Save the configuration. A new Exclusion filter in JungleMail recipients step is added, based on the Subscription Preferences column in your Subscribers list.

You can choose to send newsletters only to people who are subscribed to a certain topic. If Content Targeting is enabled, regardless of the recipient type, JungleMail will read the subscriber list before sending the newsletter and compare the Subscriber list Email column to the recipients email address. If they match, subscription preferences will be applied to that recipient. If the recipient is not in the Subscribers list, they will be treated as subscribed to all topics.