Sending to recipients in dynamic distribution groups
In this tutorial, you will learn how to configure Microsoft Exchange connection in JungleMail for Office 365. The main benefit of this connection in comparison with Azure AD connection is that it enables sending newsletters to dynamic distribution groups.
Configuration
Notes
- This feature is only available in JungleMail for Office 365 Enterprise package.
- To access and modify the following settings, you must have the Administrator permission role.
1. Open JungleMail for Office 365 and click Settings > Connections.
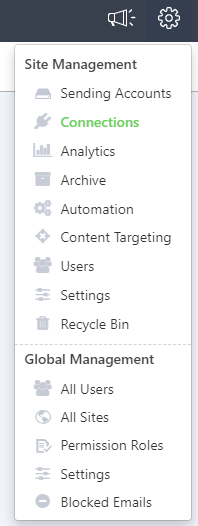
2. In the Microsoft Exchange Connection section, click Configure and enable...

3. On the Select exchange type toggle, select:
- Exchange Online (Office 365). This is the default setting. In the Authentication type, select:
- User name and password: enter your Office 365 account credentials.
- OAuth (Office 365 app): in the pop-up window, enter the credentials of Office 365 account you want to use for this connection. This option limits JungleMail for Office 365 access to Microsoft Exchange Services only.
Important
This option will be deprecated soon, because Microsoft will retire Basic Authentication for EWS, EAS, IMAP, POP and RPS to access Exchange Online. Use OAuth (Office 365 App) authorization method instead.
- Exchange on-premises to connect JungleMail for Office 365 to on-premises Exchange Server.
4. Click Save to save connection settings. Note that these settings will apply to the current JungleMail site only.
The active connection changes its status to Enabled.
Notes
JungleMail will connect to Microsoft Exchange using the specified user credentials and perform the following operations when you provide the Distribution list/group name:
- Get group members
- Get contact information
Adding a dynamic distribution group
Now that you have enabled Microsoft Exchange Connection, users will be able to select Office 365 groups, mail-enabled security groups, distribution groups and, most importantly, dynamic distribution groups as a recipient source. When sending emails to a user group, JungleMail for Office 365 will recursively expand selected groups and send individually personalized emails for each group member.
To add a dynamic distribution list for sending, follow these steps:
1. In the Recipients step, select Echange groups as your recipient source.
2. Click Add.

3. Add the group by name or email, or use the search functionality, then click Add.

Once the group is added, you can check the number of resolved recipients and other details in the Recipient Summary section.
